
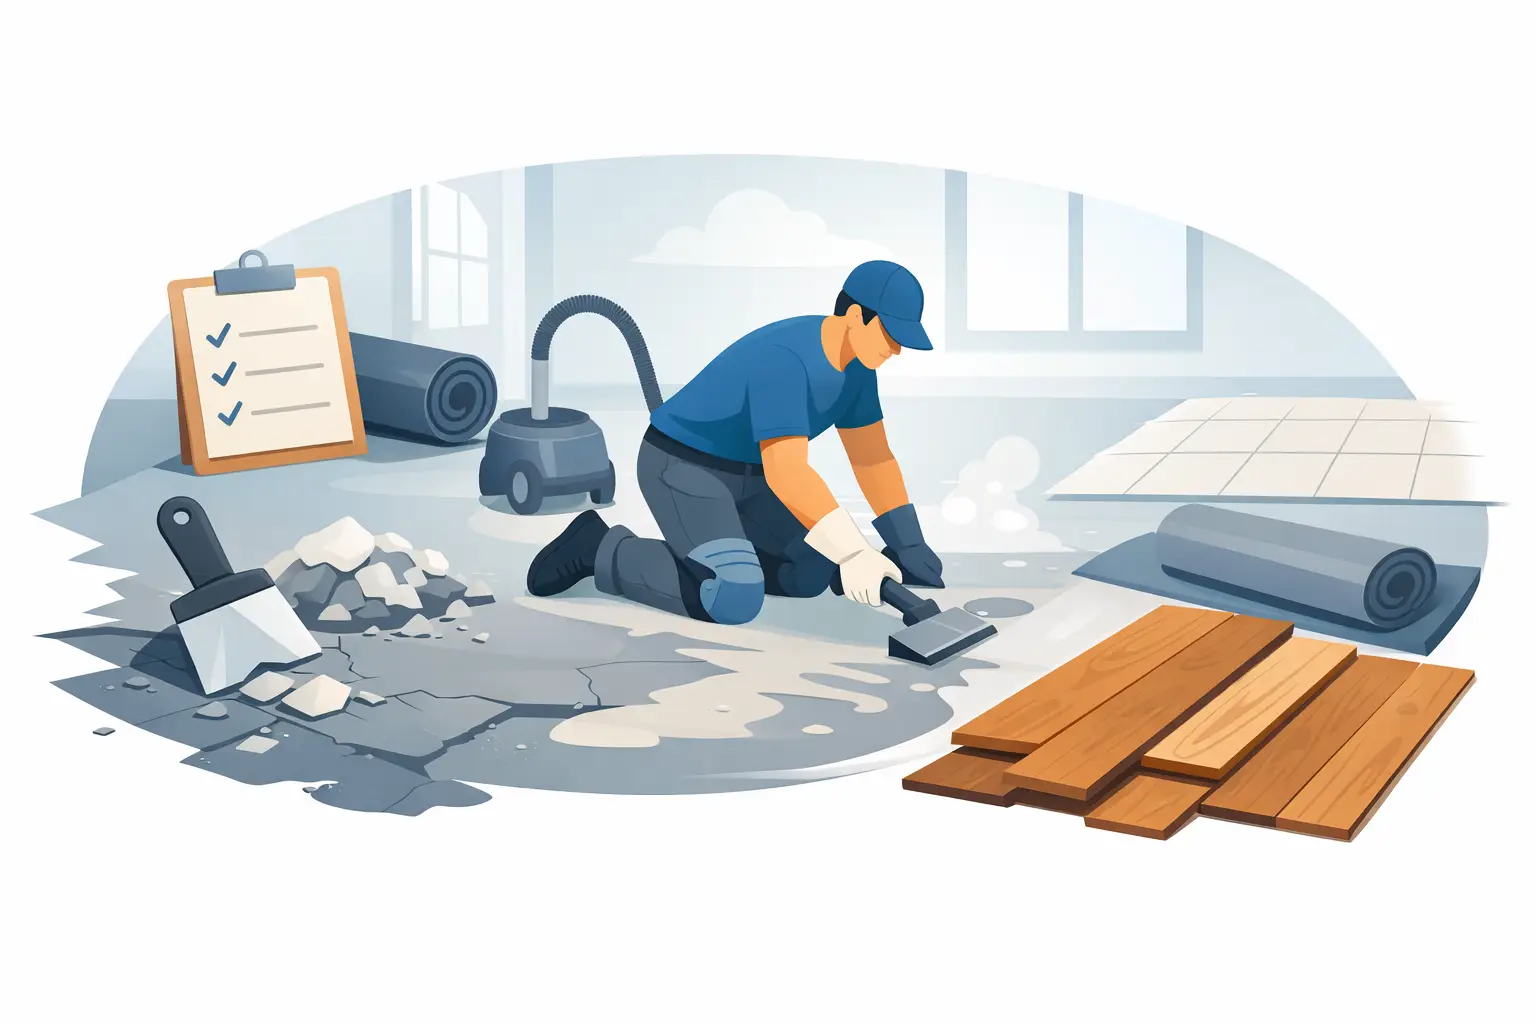
A beautiful new floor can still fail if the surface underneath is not ready. Whether you are installing luxury vinyl plank in a Phoenix home, tile in a busy commercial space, or carpet in a rental property, knowing how to prepare floors protects your investment from uneven seams, loose tiles, moisture damage, and premature wear.
Floor preparation is not one-size-fits-all. The right process depends on the existing subfloor, the condition of the room, and the material you plan to install. A professional installer evaluates these details before installation begins, but property owners can make better decisions by understanding what the work involves.
How to Prepare Floors for a Lasting Installation
The goal of floor preparation is simple: create a clean, dry, sound, and level surface that allows the new flooring to perform as intended. Skipping even one part of that process can create problems that may not show up until months after the installation.
In Arizona, concrete slab foundations are common. That makes moisture testing, crack repair, and surface leveling especially important before many flooring installations. Homes can also have older tile, glued-down carpet, damaged wood subfloors, or multiple layers of previous flooring that need careful evaluation.
Start with the flooring material
Preparation begins with the product you choose. Carpet can work over minor subfloor variations when the proper pad is used, while tile requires a much flatter, more stable base. Hardwood and laminate have their own moisture and expansion requirements. Luxury vinyl plank and vinyl tile may tolerate some conditions well, but they can show every bump, grout line, or low spot beneath them if the surface is not properly prepared.
Before selecting materials, consider how the room will be used. A pet-friendly family room, a high-traffic office, a kitchen, and a rental unit each place different demands on the floor. The right product and installation method should work together. A product that looks great in a showroom may require more extensive prep in your space, which can affect the project budget and timeline.
Clear the room completely
Remove furniture, area rugs, appliances that are scheduled to move, and personal belongings before work begins. This gives the installer full access to the floor and helps prevent delays on installation day.
Baseboards, shoe molding, doors, toilets, or cabinetry may also need to be addressed depending on the project. For example, tile installed over an existing floor can raise the finished height. That may require door trimming or transition adjustments between rooms. Discuss these details before work starts so there are no surprises once materials arrive.
Remove existing flooring the right way
Old flooring must be removed without damaging the subfloor below. Carpet and pad are usually straightforward to remove, but staples, tack strips, and adhesive residue still need to be handled. Tile removal can be more labor-intensive because it often leaves thinset mortar and may expose cracks in the concrete slab.
Do not assume old flooring is an acceptable base for new material. In some cases, new luxury vinyl, laminate, or tile can be installed over an existing floor, but only if that surface is firmly bonded, flat, clean, and approved for the product being installed. Installing over loose tile, worn sheet vinyl, soft flooring, or uneven surfaces simply transfers the problem to the new floor.
Older homes may also have materials that require special handling. If the property was built before modern building standards, ask a qualified professional to assess any questionable flooring, adhesive, or backing material before demolition.
Check for Moisture Before Installing Flooring
Moisture is one of the most common causes of flooring problems, particularly over concrete. A slab can look dry on the surface while still releasing moisture vapor that affects adhesives, wood flooring, laminate, or vinyl products.
Professional moisture testing helps determine whether a moisture barrier, mitigation system, or different installation method is needed. This is not an optional detail for products with manufacturer requirements. If moisture levels exceed the product’s limits, installing anyway may lead to cupping, lifting, staining, adhesive failure, or a voided warranty.
Bathrooms, laundry rooms, kitchens, entryways, and ground-level rooms deserve extra attention. Water damage from a past leak should be repaired and fully dried before new flooring is installed. If there is an active plumbing issue, roof leak, or drainage problem, solve that first. New flooring should be the finish line, not the cover-up.
Inspect and repair the subfloor
Once the old floor is removed, inspect the surface closely. Concrete should be stable and free of loose material. Wood subfloors should be securely fastened, without soft spots, rot, excessive movement, or squeaks caused by loose panels.
Small cracks in a concrete slab are common, especially in the East Valley. Some are cosmetic, while others may need a crack-isolation product or more detailed evaluation before tile or stone is installed. The type, location, and movement of the crack matter. A tile floor placed directly over an untreated moving crack can eventually crack in the same area.
For wood subfloors, replace damaged sections and secure loose areas before proceeding. If the floor flexes noticeably when walked on, it may not be suitable for tile or natural stone without additional structural work. Tile is durable, but it is not flexible. A stable surface is essential.
Make the floor flat, not just level
Many homeowners use the word level when they really mean flat. A floor does not always need to be perfectly level from one side of the room to the other, but it does need to be within the flatness requirements of the flooring product.
High spots may need to be ground down. Low spots may need patching or a self-leveling underlayment. This step is particularly important for large-format tile, hardwood, laminate, and luxury vinyl plank. Long planks and large tiles can bridge over dips or rock on high points, creating gaps, lippage, clicking sounds, or broken locking systems.
A professional installer uses straightedges and appropriate measuring tools to identify these variations. This is one reason an in-home estimate is valuable. The condition of the subfloor is difficult to judge from a sample or a room measurement alone.
Clean the Surface and Plan the Details
After repairs and leveling are complete, the surface must be thoroughly cleaned. Dust, old adhesive, wax, paint overspray, drywall compound, and debris can interfere with adhesives and underlayment. Sweeping is often not enough. The preparation method should match the installation system and the manufacturer’s specifications.
This is also the time to confirm room transitions, floor height, pattern direction, and layout. Tile may need to be centered around a focal wall or doorway. Hardwood and vinyl planks usually look best when their direction complements the room’s shape and natural light. Carpet seams should be placed away from highly visible areas when possible.
For hardwood, laminate, and some vinyl products, acclimation may be required. Materials need time in the installation environment so their temperature and moisture content can adjust. Arizona’s dry climate and heavily air-conditioned interiors can affect this process. Follow the specific manufacturer’s guidance rather than relying on a general rule.
Choose the right underlayment or setting materials
Underlayment is not a universal add-on. Some floating floors require a specific pad, while other products already have an attached backing and should not be installed over additional cushioning. Tile may require a crack-isolation membrane, uncoupling membrane, or approved backer board depending on the subfloor and project conditions.
Adhesives, grouts, patch materials, and moisture barriers must also be compatible with the flooring product and the subfloor. Using the least expensive material can create costly repairs later. The best value is a system that performs correctly together and supports the product warranty.
When Professional Floor Preparation Makes Sense
Simple rooms with sound existing surfaces may need minimal prep. However, professional evaluation is especially worthwhile when you see cracks, water damage, uneven areas, loose tile, stubborn adhesive, or signs of slab moisture. It is also a smart step for commercial spaces, large open areas, natural stone, and projects with multiple flooring transitions.
Premium Carpet Tile Stone and Wood can help homeowners and commercial buyers assess the condition of their existing floors during a free in-home estimate. With the right materials, accurate measurements, and a clear installation plan, you can avoid choosing a floor based only on color or price.
A prepared floor is rarely the most visible part of a remodel, but it is the part that gives every finished surface the support it needs. Taking the time to address what is underneath helps your new flooring look better, feel better, and hold up for years.







Leave A Comment