
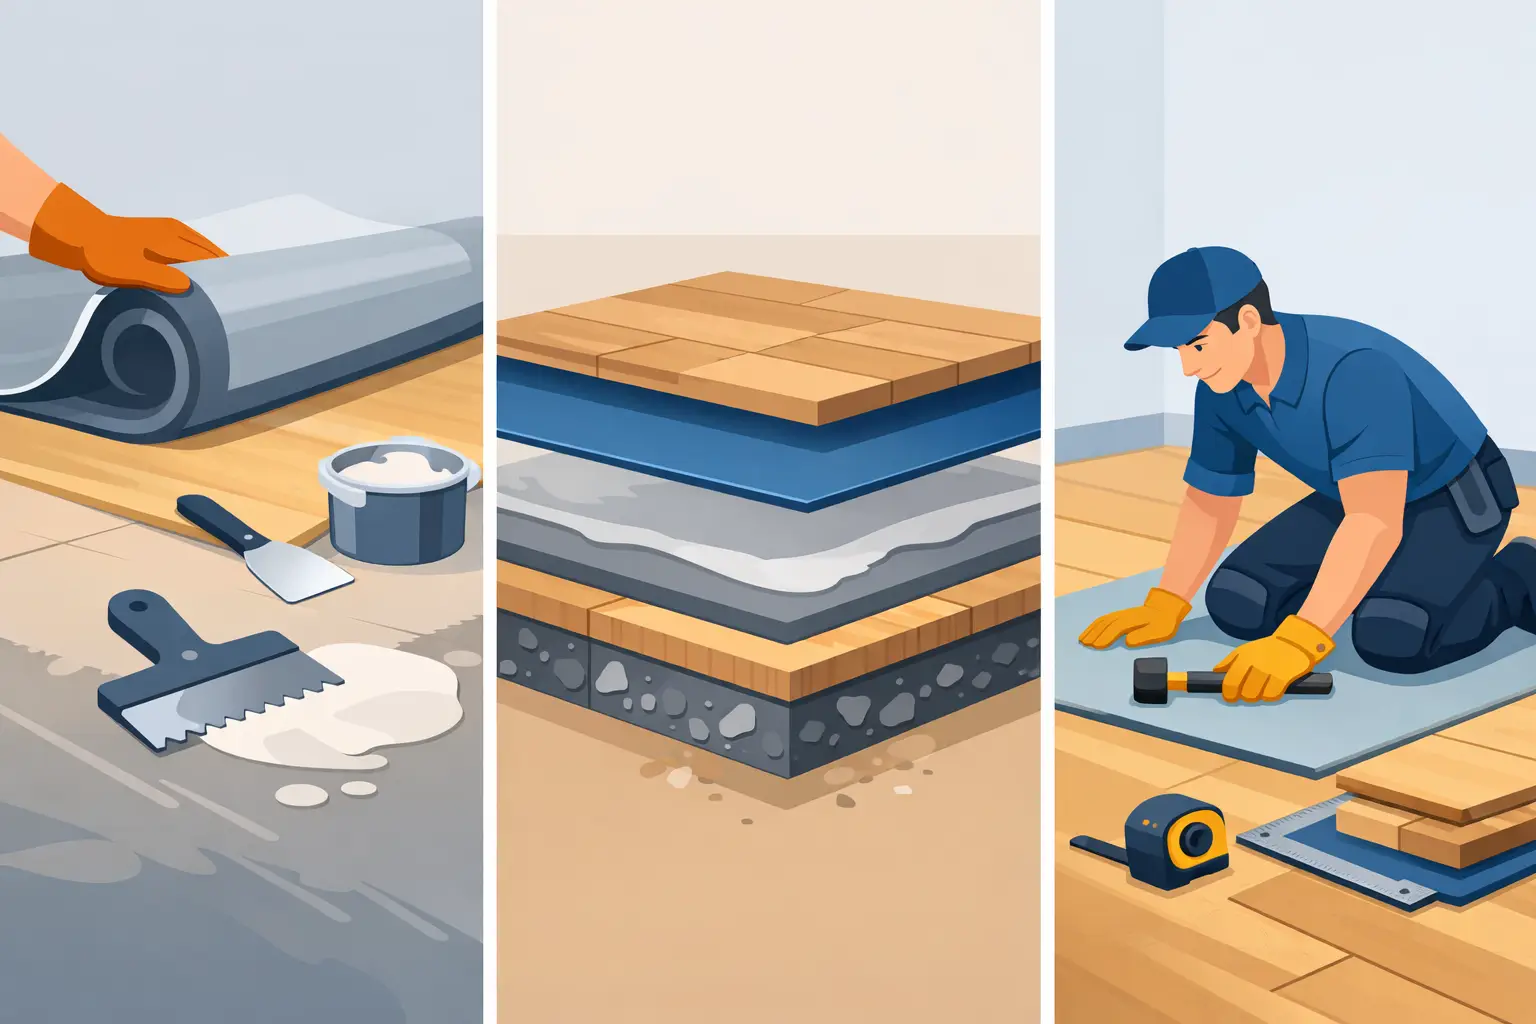
A new floor can look perfect on installation day and still develop cracks, soft spots, gaps, or loose edges months later. In many cases, the flooring material is not the problem. The subfloor beneath it was never properly evaluated or corrected. Knowing how to prepare subfloor gives your carpet, tile, hardwood, or luxury vinyl a stable foundation and helps protect the investment you are making in your home or commercial property.
In Phoenix and the East Valley, preparation often starts with understanding what is below the existing floor. Many homes are built on concrete slabs, while others have plywood or OSB subfloors over framing. Each requires a different approach, and the right preparation also depends on the flooring you plan to install.
Start by Identifying the Existing Subfloor
Before ordering materials or scheduling installation, determine whether you are working with a concrete slab, plywood, OSB, or an existing floor surface that may be suitable for installation. Pull back a floor vent cover, inspect an unfinished closet, or remove a small piece of trim if needed. When in doubt, an installer can confirm the condition and construction of the floor during an in-home estimate.
Concrete is common in Arizona homes and can be an excellent base for tile, luxury vinyl, carpet, and some engineered wood products. It still needs to be clean, dry, flat, and free of cracks or coatings that interfere with adhesives. Wood subfloors need to be structurally sound, securely fastened, and protected from moisture before most floor coverings go down.
Do not assume a previous floor installation means the surface is ready for the next one. Old flooring may have hidden moisture damage, adhesive residue, patchwork, or low areas that only become visible after removal.
Remove Old Materials and Create a Clean Surface
Preparation begins with complete removal of the old flooring unless the new product is specifically approved to install over it. Carpet padding, staples, tack strips, ceramic tile, sheet vinyl, laminate, adhesive, and underlayment can all affect the final height and stability of the new floor.
On a wood subfloor, remove every staple, nail, and screw that sits proud of the surface. A single raised fastener can telegraph through thin luxury vinyl or create a noticeable bump beneath carpet. On concrete, scrape away loose adhesive, paint, drywall compound, and debris. Adhesive removers can leave residues, so use products compatible with the planned flooring adhesive or follow the flooring manufacturer’s preparation requirements.
Vacuum thoroughly after demolition. Dust may seem minor, but it can weaken adhesive bonds and make it harder to see cracks, holes, or uneven areas. The surface should be clean enough that a patching compound, primer, or adhesive can bond directly to the subfloor rather than to construction debris.
Check for Damage, Movement, and Moisture
A subfloor should not flex, shift, crumble, or show active moisture issues. Walk the entire area slowly and listen for squeaks in wood-framed floors. Pay attention to soft spots near exterior doors, bathrooms, kitchens, laundry rooms, and windows. Water damage can weaken plywood and OSB even when the top layer looks acceptable.
For wood subfloors, screw loose panels into the floor joists to reduce movement and squeaks. Replace sections that are swollen, delaminated, rotted, or structurally weak. Filling a damaged panel with patch compound may improve its appearance, but it will not restore its strength.
For concrete slabs, inspect for cracks, spalling, powdery surfaces, and moisture staining. Hairline cracks are common and may be repairable, but wider cracks or cracks with height differences need closer evaluation. A crack that continues to move can damage rigid flooring, especially ceramic tile, porcelain tile, and natural stone.
Moisture testing is a critical step for concrete, even in the desert. Ground moisture, plumbing leaks, poor drainage, and slab conditions can all affect flooring performance. Flooring manufacturers set specific moisture limits, and those limits vary by product. Engineered hardwood, glue-down vinyl, carpet, and adhesive-backed flooring may each require a different test method or moisture-mitigation system.
How to Prepare Subfloor for a Flat Installation
Flat is not always the same as level. A floor can slope slightly and still be suitable if it is consistently flat enough for the product being installed. What matters most is avoiding abrupt dips, ridges, and high spots that prevent flooring from resting evenly on the surface.
Use a long straightedge or a laser level to check the floor in several directions. Mark high and low areas with a pencil or chalk. Many flooring products list a flatness tolerance in their installation instructions. Large-format tile, glue-down wood, laminate, and luxury vinyl plank can be especially sensitive to uneven subfloors because gaps or rocking can lead to cracks, joint failure, and visible irregularities.
High spots in concrete may need to be ground down. Low spots can be corrected with a quality cement-based patch or self-leveling underlayment approved for the application. On wood, installers may use patching products, sand down minor high spots, or install an approved underlayment where appropriate. The correct method depends on the amount of correction needed and the finished flooring type.
Avoid using extra adhesive, cardboard, roofing felt, or random wood shims to make up for uneven areas. These shortcuts can compress, shift, or fail over time. A professionally prepared surface is more predictable and gives the flooring system the support it was designed to have.
Match the Preparation to the Flooring Type
Every flooring category has its own installation requirements. Tile and stone need a stiff, flat base because rigid materials do not tolerate movement well. Concrete may need crack-isolation treatment, while wood subfloors may require a cement backer board or uncoupling membrane before tile is installed.
Hardwood and engineered wood require careful moisture planning. Depending on the product and installation method, the subfloor may need a moisture barrier, vapor retarder, underlayment, or adhesive with moisture-control properties. Solid hardwood has stricter site and subfloor requirements than many engineered options, which is one reason engineered wood can be a practical choice for certain Arizona homes.
Luxury vinyl plank and vinyl tile need an exceptionally smooth surface. Small dips, seams, old embossing patterns, and fastener heads can show through over time, particularly with thinner products. Carpet is more forgiving visually, but it still benefits from a clean, secure, flat surface. Proper padding and secure tack strip placement are part of a lasting carpet installation.
Laminate flooring typically uses an underlayment, but underlayment is not a solution for major subfloor problems. It can provide cushioning, sound control, and limited moisture protection when specified, yet it will not correct significant unevenness.
Plan for Transitions, Doors, and Finished Height
Subfloor preparation changes the final floor height. This matters at doorways, cabinets, appliances, stairs, and transitions between rooms. A self-leveling compound, tile backer board, underlayment, or new flooring layer can create clearance issues if it is not considered early.
Measure door clearance before installation begins. Doors may need to be trimmed, and transition pieces may be needed where one flooring material meets another. In bathrooms and kitchens, make sure the planned floor height works with toilets, vanities, dishwashers, and existing thresholds.
This is also the time to decide whether baseboards will be removed and reinstalled or whether shoe molding will be used. Removing baseboards often creates a cleaner finished look, but it can add labor and touch-up painting. The best choice depends on the room, the condition of the trim, and the scope of the project.
When Professional Subfloor Preparation Is Worth It
Simple cleaning, staple removal, and minor patching may be manageable for an experienced homeowner. However, moisture concerns, significant leveling work, cracked slabs, damaged wood panels, and tile or stone installations deserve professional assessment. The cost of correcting a subfloor before installation is usually far lower than replacing flooring that fails prematurely.
A local flooring professional can evaluate the existing surface, recommend products that fit the conditions, and identify preparation work before materials are installed. At Premium Carpet Tile Stone and Wood, LLC, this guidance is part of helping homeowners and property owners make confident decisions based on their space, budget, and flooring goals.
The right floor starts below the surface. Take the time to uncover and correct subfloor issues first, and your finished flooring will have a better chance to look better, feel better, and perform as expected for years to come.







Leave A Comment