
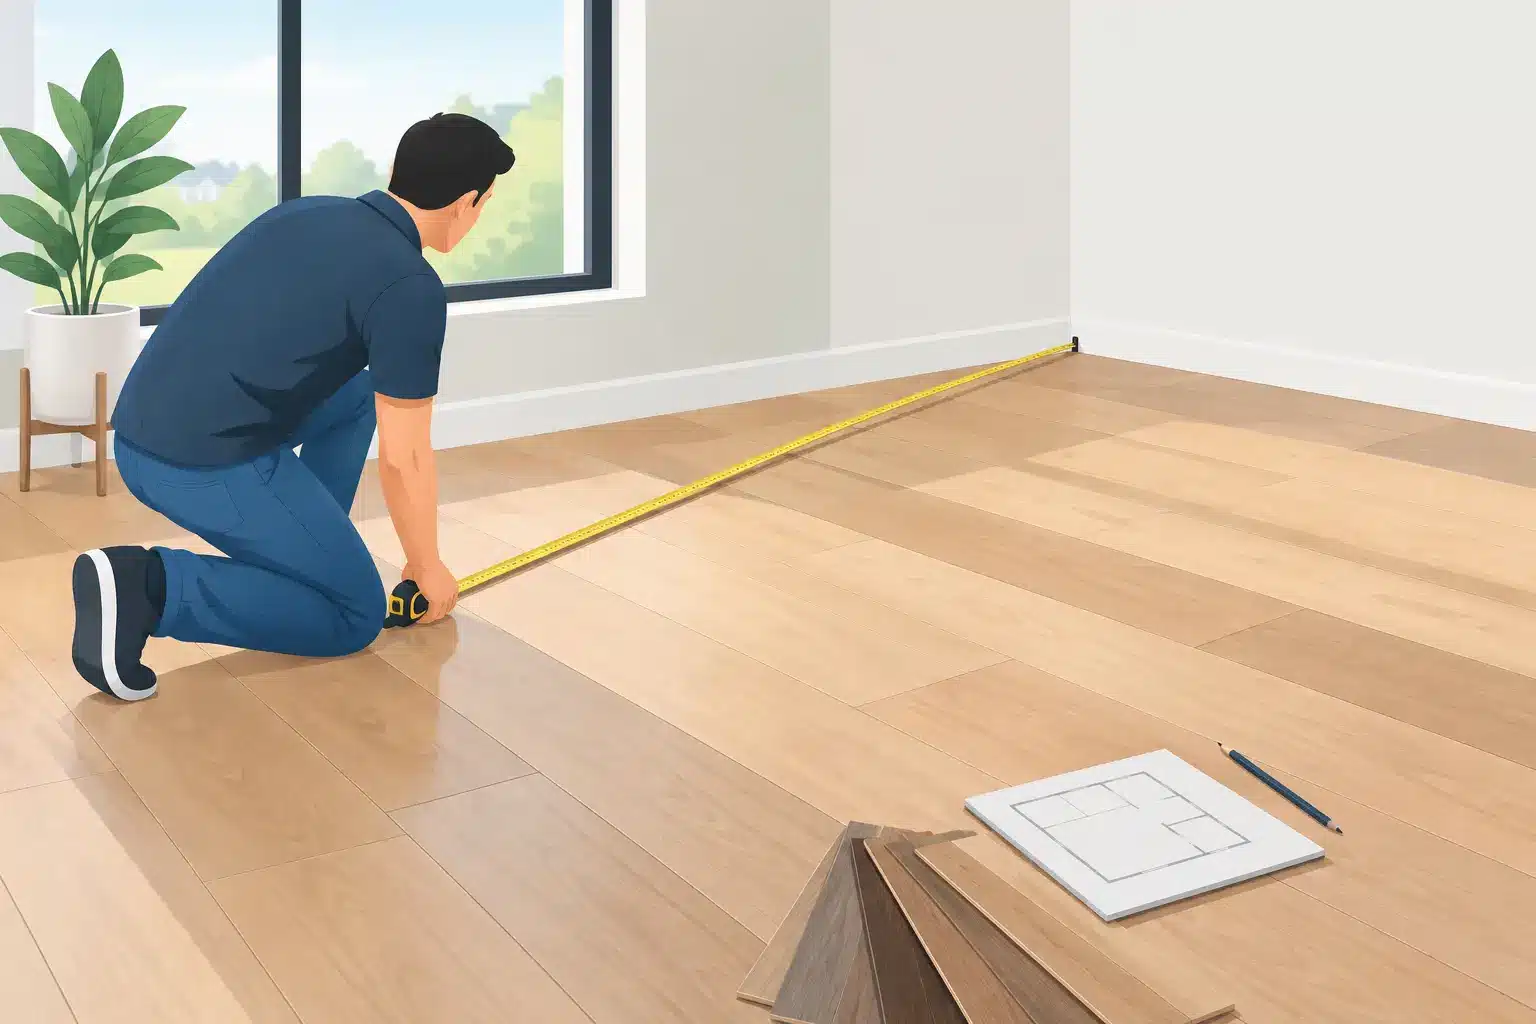
A flooring quote can change quickly when a room that looks square turns out to include a hallway, bay window, closet, or angled wall. Knowing how to measure rooms before shopping gives you a useful starting point for comparing materials, setting a budget, and discussing your project with confidence. It will not replace a professional site measure, but it can prevent surprises and help you make better decisions from the beginning.
Before You Measure Rooms for Flooring
Start with the right tools. A 25-foot tape measure works well for most bedrooms and living areas, while a laser measure can speed up larger spaces. You will also want a notepad or graph paper, a pencil, and a calculator. Measuring in inches can be more accurate than trying to convert fractions of a foot in your head.
If your home has several rooms receiving the same flooring, draw a simple floor plan before taking measurements. Label each room, hallway, closet, alcove, and transition area. It does not need to look architectural. Its purpose is to make sure every area is accounted for when you add the totals later.
Measure from wall to wall at the floor level, rather than relying on measurements taken from furniture, countertops, or the center of a room. Move lightweight furniture when possible, and measure behind doors that are normally open. For an initial flooring estimate, include the full floor area. Do not subtract the small expansion space that a hard-surface installer will leave around walls. That installation detail is handled separately.
How to Measure Rooms for Flooring
The basic formula is simple:
Length x width = square feet
For a standard rectangular room, measure the longest length and the widest width. If a bedroom is 12 feet 6 inches wide and 15 feet 4 inches long, you can convert those measurements to inches for a precise calculation. That is 150 inches by 184 inches, or 27,600 square inches. Divide by 144 to convert square inches to square feet, for a total of about 192 square feet.
You can also work in decimal feet. In that same example, 12 feet 6 inches becomes 12.5 feet, and 15 feet 4 inches becomes approximately 15.33 feet. Multiply those figures to reach the same approximate result. Whichever method you choose, use it consistently throughout the project.
Older Phoenix homes, additions, and rooms with textured walls may not be perfectly square. Measure the width in two or three locations if the walls appear to taper. Use the largest measurement for planning purposes. A professional installer will confirm final dimensions and identify any layout concerns before material is ordered.
Measure L-Shaped and Irregular Rooms in Sections
An L-shaped great room should not be measured as one oversized rectangle. Instead, divide the space into two or more simple rectangles, calculate each section, and add them together.
For example, one section may measure 14 by 18 feet, for 252 square feet. The adjoining section may measure 8 by 10 feet, for 80 square feet. Together, the room requires 332 square feet before adding waste. This method also works for rooms with bump-outs, dining nooks, bay windows, and partially enclosed office areas.
Curved walls and angled corners require a little judgment. For an early budget, measure the widest and longest points of that section and treat it as a rectangle. This may slightly overestimate the area, but it is safer than ordering too little flooring. Tile layouts, hardwood direction, carpet seams, and luxury vinyl plank cuts can all affect the actual material requirement in these areas.
Include Closets, Hallways, and Connected Spaces
Closets are easy to miss, especially when they are full. Measure them separately and add them to the room total. The same applies to linen closets, under-stair storage, hallways, entryways, and small connecting passages.
If flooring will continue without a transition from a bedroom into a closet or from a living area into a hallway, treat those spaces as part of the same project area. If materials will change at a doorway, measure and price each flooring area separately. This makes it easier to compare products and identify where transition strips or other finishing materials may be needed.
Be careful about subtracting permanent features. A freestanding refrigerator, movable furniture, and most appliances do not reduce the amount of flooring you need. For kitchen islands, built-in cabinets, fireplaces, or permanent retail fixtures, it depends on whether the new floor will run underneath them. Do not subtract those areas until you have confirmed the installation plan.
Add the Right Amount for Waste
Your room measurements tell you the floor area. They do not tell you exactly how much material to order. Flooring must be cut around walls, door frames, closets, vents, corners, and transitions. Extra material is also valuable for future repairs.
A straightforward plank, tile, or carpet installation often needs an additional 10 percent for cuts and waste. A diagonal tile pattern, a room with many angles, or a product with a large repeating pattern may require 15 to 20 percent or more. Carpet deserves special attention because it comes in fixed roll widths. The direction of the pile, seam placement, and pattern repeat can require substantially more material than the room’s square footage suggests.
Hardwood and luxury vinyl plank requirements also vary based on board length, installation direction, and room layout. Long narrow rooms may create more offcuts than square rooms. Tile projects may need extra material from the same dye lot, particularly when a future repair would be difficult to match.
Think of waste as planned material, not a mistake. Ordering too little can delay a project and create a color or lot-match problem if the same product is no longer available.
Measure Linear Items Separately
Square footage is only one part of a flooring project. Baseboards, quarter round, transition strips, stair nosings, and reducers are measured by linear foot. Walk the perimeter of each room and note the lengths where new trim or transitions may be needed.
For stairs, measure each tread and riser individually or count the steps and record their dimensions. Stair carpet, hardwood, and vinyl installations each have different cutting and finishing requirements. A square-foot total alone is not enough to estimate stair material accurately.
Also make notes about doors. Record whether doors may need to be trimmed, whether there are sliding doors or exterior thresholds, and where flooring changes meet tile, carpet, or concrete. These details help an estimator identify the accessories and preparation work that belong in the quote.
Common Measuring Mistakes That Affect Flooring Quotes
The most common mistake is measuring only the main open area and forgetting closets, hallways, and alcoves. Another is rounding every measurement down. Small rounding errors across several rooms can become a meaningful shortage.
Homeowners also sometimes measure an empty room but forget that the flooring will extend into a nearby pantry, laundry area, or walk-in closet. In commercial spaces, storage rooms, corridors, break areas, and reception zones can be overlooked for the same reason.
Finally, avoid assuming every material is sold and installed strictly by the square foot. Carpet roll widths, tile carton coverage, minimum order quantities, freight, floor preparation, and installation conditions all influence the final quote. Your measurements are a strong planning tool, but they are only one part of a complete project scope.
When to Schedule a Professional Measure
A professional measure is especially worthwhile when you are replacing flooring throughout a home, installing tile with a detailed layout, working around cabinets, or updating a commercial property. It is also the best choice when subfloor conditions, moisture, existing flooring removal, or transitions between rooms may affect the installation.
At Premium Carpet Tile Stone and Wood, LLC, a free in-home estimate gives you a confirmed measurement, material guidance, and a clearer view of the work involved. Bring your rough room measurements to the conversation, along with photos and notes about your goals. They will help you narrow your options faster, while the final site measure helps ensure the flooring you choose fits the space, the budget, and the way you use it every day.





Leave A Comment